The e-Schooling chat is a practical tool for communication among members of the school community. Through it, you can send messages, create groups, share files, and much more. Below, discover how to use all the available features.
1. Access the Chat
Click the chat icon on the top bar of e-Schooling
- View the most recent conversations.
- To see all conversations or start a new one, click “View All”.

New Conversation
To start a new conversation, click “New Conversation”, select the desired entity, and write your message. 
Only contacts of entities that are e-Schooling users will appear. Entities without access to e-Schooling will not appear in this list.Use the contact filter to quickly find the desired entity or search for related entities. For example, to send a message to a Guardian, search by the student’s name and expand the associated entities (by clicking the arrow next to the name).
All related contacts will be displayed with their name and relationship to the student. Note: Only users with e-Schooling access will appear; if the student is not a user, they will not appear in the list.

If you already have an ongoing conversation with a contact, searching for that contact in the New Conversation option will not display it. In these cases, exit the New Conversation option and search in the list of existing conversations.

Search Conversations in Started Chats
Create Group
Click the “Groups” tab and then “New Group”.
- Define a name for the group.
- Optionally, change the group color.
- Select the desired entities (use the search to make it easier).

Edit Group Settings
Open the group conversation and click the group color to edit:
- Name: Define or change.
- Color: Choose a new color.

Click “Save” to apply the changes.
Add Members
In the group details, click “Add People to Group”.
Search for the desired contact(s) and click the button “Add User to Group”.

Make Administrator
Click “Make Administrator” next to the name
Remove Administrator
Click “Remove as Administrator”
Remove Member
Click “Remove from Group”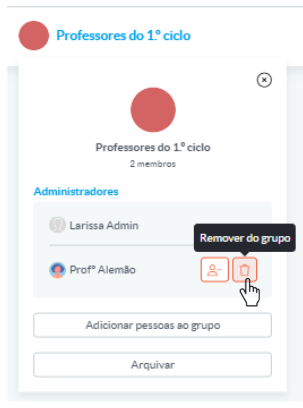
Only administrators can remove members. After removal, the group disappears from the removed user’s list.Block Member
The user can block a contact in the conversation. To do this, access the conversation, open its details, and click “Block User”
When blocked, the conversation for the entity that blocked appears in the list as inactive (blocked), and when opened, a blocked icon appears in the upper-right corner.
For the blocked member, when accessing the conversation, the option to send messages is no longer available.
Send Message
- Open the conversation or group where you want to send a message.
- Write the message in the designated space and press Enter on your device’s keyboard or click the paper plane icon to send.
In the message, you can:

Format Text
Select the text you want to format and edit it using the options available in the application.
Add Files
There is no limit to the number of files uploaded; however, each file cannot exceed 5MB.
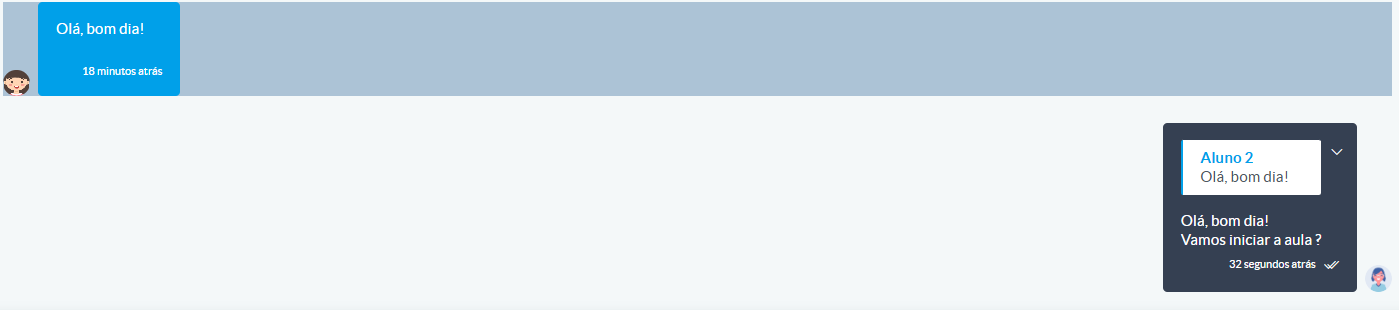
Message Delivery and View Status
Next to the sent message, the sender can see if it was delivered and viewed:
Delivered (2 gray checkmarks)
Viewed (2 blue checkmarks)

Search
The search bar is always available in the chat to help you quickly find what you are looking for. However, it is important to know that the search option is always related to the area you are in.
Examples: If you are in the chat list and perform a search, it will focus on your chat contacts.

If you open a conversation and use the search, the results will consider the content of exchanged messages.
Clicking on one of the search results will take you to the respective message.
The global search, located in the upper-left corner of the chat, will search across all chats, contacts, groups, and messages containing the term you are looking for.

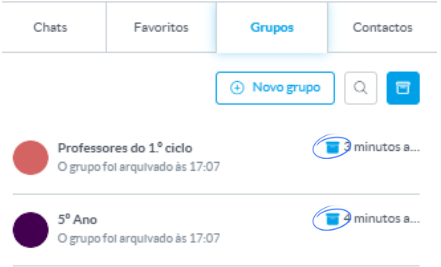
Archiving Group Conversations
The group archiving feature allows you to keep the conversation list organized without deleting the conversation history.

Important:Only group administrators have the option to archive or unarchive a chat.
How to Archive a Group: Open the group conversation, go to the details menu, and click “Archive group.”


Accessing the History: Once archived, you must click the archive icon to view all archived conversations.

Indicator: In the list of conversations, archived groups are displayed with the label “Archived group” next to their name
While the group is archived, sending new messages is not possible.To resume communication, you must unarchive the group.
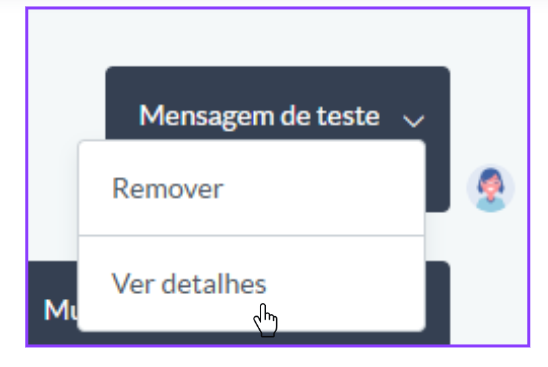
View Who Received and Read Messages
In addition to delivery and read indicators, you can view the full list of recipients who have received and/or read the message. To do so, click on the message details of the sent message.

Chat Group Moderation
Through the new moderation menu, the school can define users who will be automatically added as administrators in all newly created chat groups.
Purpose: Ensure that specific users (e.g., coordinators or communication staff) always have management permissions in groups.
How it works: Access the moderation menu and select the users to be assigned as global administrators.
 Whenever a new group is created, these users will be automatically added with admin permissions, without requiring manual configuration.
Sending Images
The chat now allows you to send images directly within messages.
- How to Send Images
In the message input area, click the button specifically designed for sending images.

The file uploader (used throughout the application) will open.
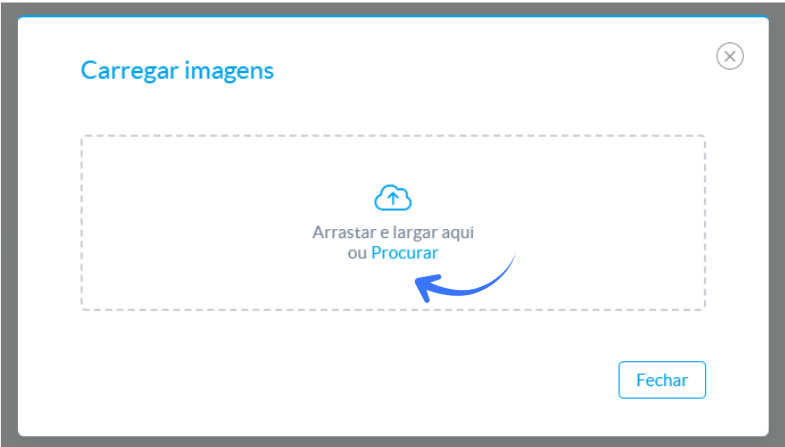
Only image file types can be selected.You can also drag and drop images directly into the message area.
It is important to ensure that the word “Move” appears next to the cursor — only then will the image be correctly attached to the message.- How Images Are Displayed
Images sent through the chat appear using the gallery component, similar to how they are displayed in the Feed.
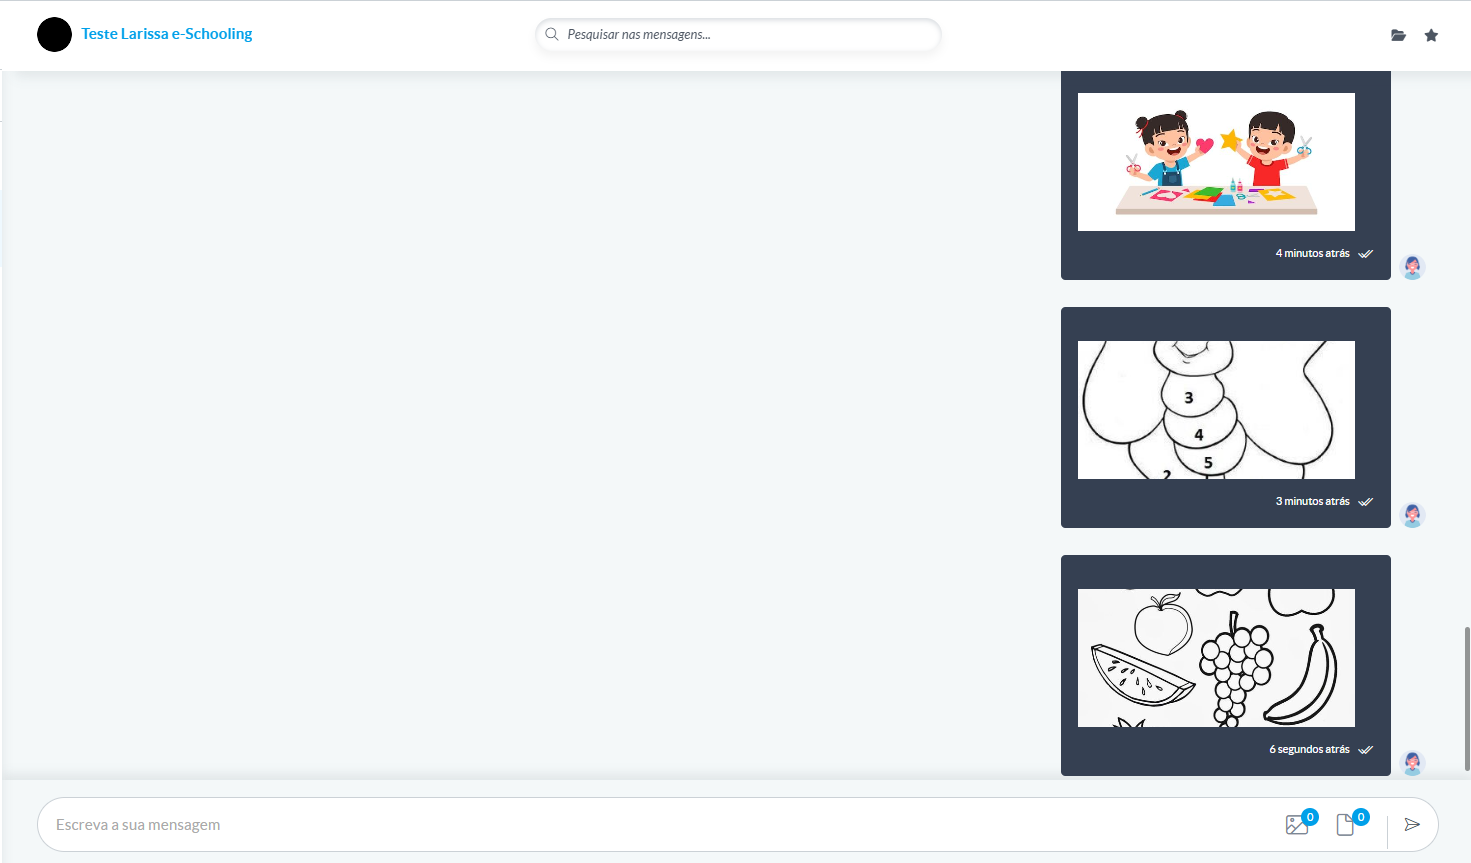
When a message contains images, they appear organized as thumbnails and can be opened in an enlarged viewer.
- Image preview
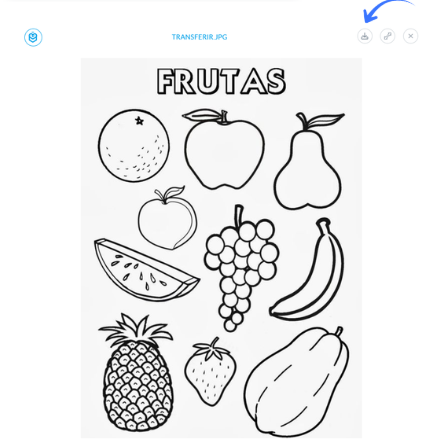
When a message contains images, the preview shown in the conversation list does not display the full gallery, in order to keep the interface light and fast.
Instead:
To view all images sent, click the Files icon (in the top‑right corner of the conversation).

In that menu, you will find the Images tab, where all shared images are listed with a thumbnail, file name, and time of upload

To view or download an image, click “Access” on the corresponding line, and the image will open in the viewer, where you can also download it
This way, the user has organised and immediate access to all shared images, being able to view or download whichever they want, while maintaining a simpler, faster, and more fluid chat experience.
Replying to specific messages
It is now possible to reply directly to a specific message in the chat, making it easier to follow the conversation and ensuring that the context of the reply remains clear.
- How to reply to a message
In each message, when opening the action menu (arrow on the right), the option Reply appears

After selecting this option, the chosen message is displayed above the writing bar in a small preview
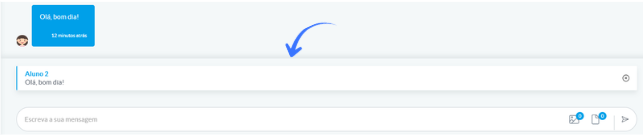
This preview shows the essential content of the original message.
If it includes files or images, these will also be indicated.- How the reply appears in the chat
After sending, your message will display at the top a small card identifying which message you are replying to
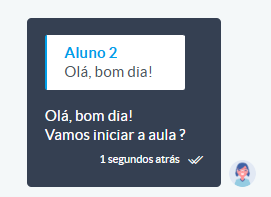
By clicking this card, the chat automatically scrolls to the original message
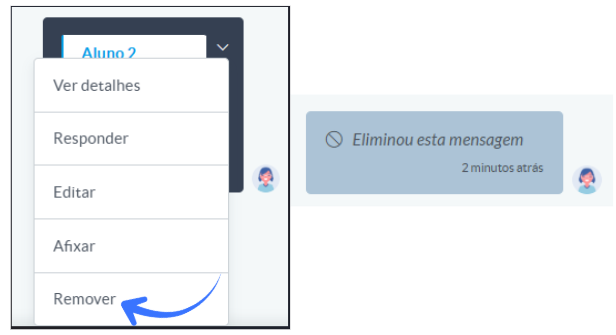
- If the original message is deleted
If the message you replied to is deleted, your reply will no longer display the top card and will appear as a normal message.
Pinning Messages
In the chat, it is possible to pin messages so that they remain always accessible at the top of the conversation.
To pin a message, open the message menu and select Pin.

When pinned, the message appears at the top of the chat and can be clicked to navigate to the original message.

When multiple messages are pinned, a set of side bars appears indicating how many messages are pinned (up to four bars visible).

Although you can pin more than four messages, only four bars are displayed, which may affect the visual clarity of the pinned list.
The message also displays the pinned icon.

To remove a pinned message, open the message menu and select Unpin.

Rules:
- One‑to‑one conversations: both users can pin and unpin messages.
- Groups: only administrators can pin or unpin messages.
Was this article helpful?
That’s Great!
Thank you for your feedback
Sorry! We couldn't be helpful
Thank you for your feedback
Feedback sent
We appreciate your effort and will try to fix the article